Opening the problem — why controlled illumination matters
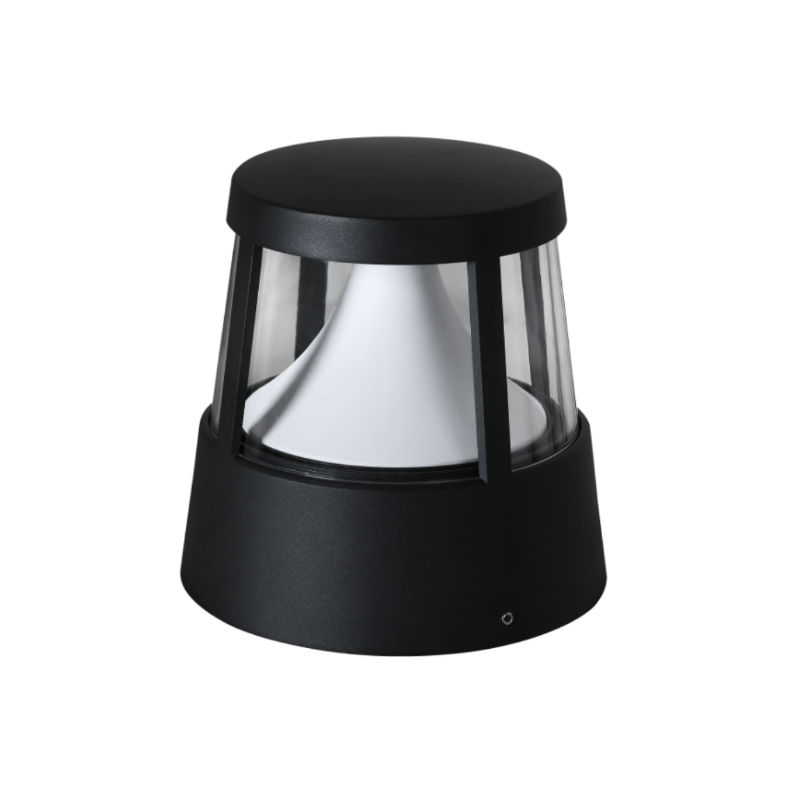
Architectural glare and light trespass are not merely aesthetic faults; they are operational failures that degrade wayfinding, obscure façades, and provoke neighbor complaints. In a problem-driven approach we start by diagnosing symptoms, then isolate system failures and corrective paths. For many perimeter and landscape schemes, particularly those using pier-mounted fixtures, the solution set begins with the intent of the luminaire — and with choices like outdoor pier mount lights that influence beam control, lumen output, and mounting height. Accepted guidance from bodies such as the Illuminating Engineering Society (IES) and the International Dark-Sky Association (IDA) provides measurable baselines for light trespass and backlight–uplight–glare (BUG) ratings — a useful real-world anchor when justifying changes to stakeholders.
Common manifestations and why they matter
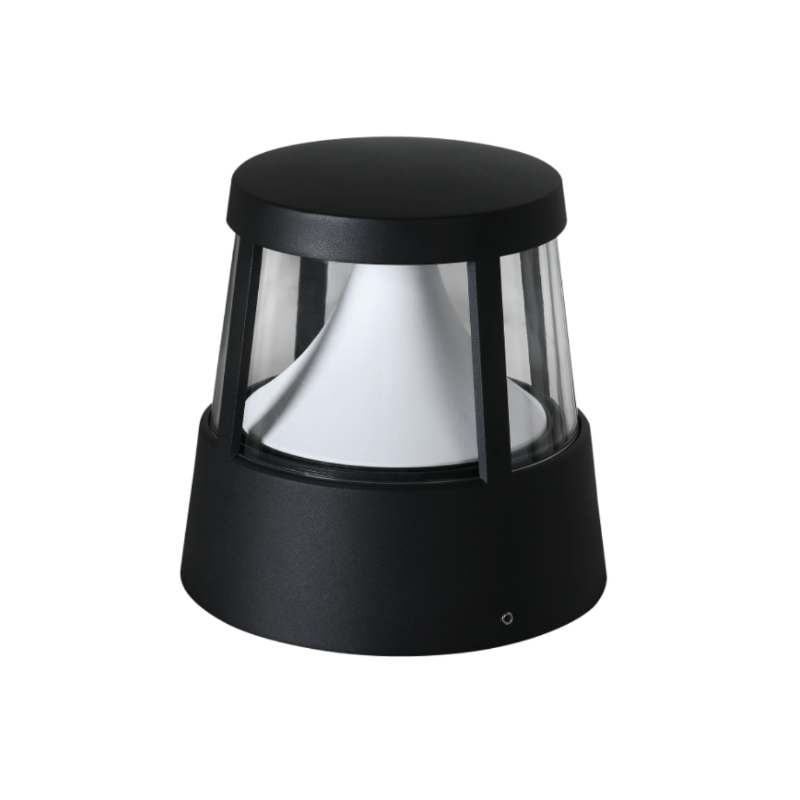
Glare shows up as excessive brightness in the field of view, veiling luminance on façades, or unwanted skyglow. Light trespass is the spill-over of illumination beyond property boundaries, measurable as horizontal illuminance at the plane of concern. Visual artifacts include hot spots, scalloping, and uneven wash patterns — all of which compromise the intended architectural narrative and can impede safety. These are not academic distinctions; each failure mode corresponds to a different root cause and thus a different remediation tactic.
Root causes: what to inspect first
Start with the optical stack: lens condition, reflector alignment, and the fixture’s beam angle. Check photometrics against the installed mounting height — a mismatch often produces scalloped washes or hot spots. Verify IP rating and housing ingress protection for coastal or polluted environments; water intrusion and corrosion will alter beam performance over time. Also confirm that the installed driver and color temperature match the specification: spectral shifts can increase perceived glare even when lumen output is nominal.
Field diagnostics checklist (quick, technical)
Use a concise, repeatable test sequence to reduce ambiguity during troubleshooting:
- Measure horizontal and vertical illuminance at the affected plane with a calibrated meter; log lux values versus design targets.
- Capture photometric spread with a lux grid to reveal hot spots and beam falloff; compare to the fixture’s published photometrics.
- Inspect mounting hardware for tilt, rotation, or height deviations that change beam aim.
- Confirm installation of the intended optics — sometimes a retrofit used a generic shield or a nonstandard lens.
Document findings in a short report — it helps when you must justify a retrofit budget to a client or municipality.
Corrective strategies: design and retrofit options
Once the failure mode is established, apply layered fixes rather than single-point patches. Typical interventions include adjusting aim and mounting height, swapping optics for narrower beam angles, adding full-cutoff shields, or specifying fixtures with superior photometric control. Consider fixture spacing and intervisibility; reducing lumen package but tightening beam control often yields better perceived uniformity. For historic contexts or stringent local ordinances, choosing fixtures that meet specific BUG ratings and color-rendering profiles is prudent — and often required.
Product selection and integration pitfalls
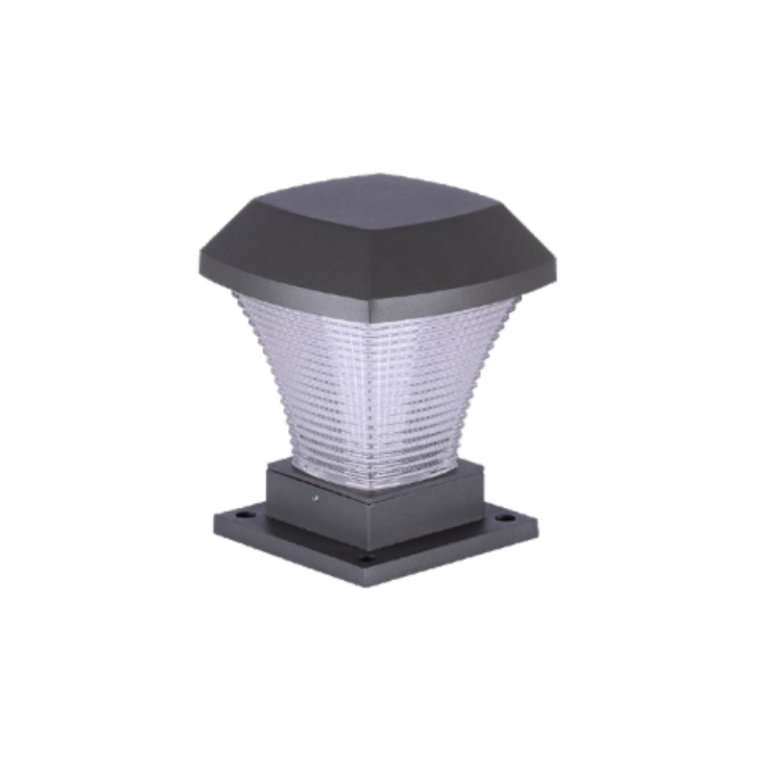
Three recurrent mistakes cause repeat failures: specifying fixtures by appearance rather than photometrics, underestimating maintenance access, and ignoring surrounding reflectances (light bouncing off glass or metal will amplify glare). When you evaluate replacements, account for mounting details — a pier base requires different mechanical anchoring and waterproofing than a wall bracket. If considering alternatives, compare controlled outdoor options such as shielded wall sconces, bollards, and exterior pier mount lights for their beam control, IP rating, and maintenance profile. —
Implementation checklist and verification
Implement changes in phases: prototype one run, verify with on-site photometry, then scale. Require first-article sign-off with the same measurement protocol used in diagnostics. Maintain a versioned photometric spreadsheet that ties each fixture type to measured outputs and observed artifacts; that creates institutional memory and reduces recurrence.
Closing guidance — three golden rules for resilient exterior lighting
1) Demand measurable photometrics: insist on published beam angle, BUG rating, and a verifiable lumen depreciation curve. 2) Prioritize controllability: aim, shielding, and color temperature adjustments should be available without major mechanical work. 3) Factor whole-life maintenance: choose fixtures with suitable IP rating, accessible components, and documented service procedures so performance doesn’t degrade into nuisance glare.
Apply these rules and you reduce complaint cycles, lower retrofit costs, and keep architectural intent intact. For practitioners balancing photometric control with durable hardware, brand solutions that integrate predictable optics and robust mechanical design are the natural endpoint — and that practical alignment is exactly what Keyida aims to deliver — a reliable foundation for long-term exterior lighting performance. —