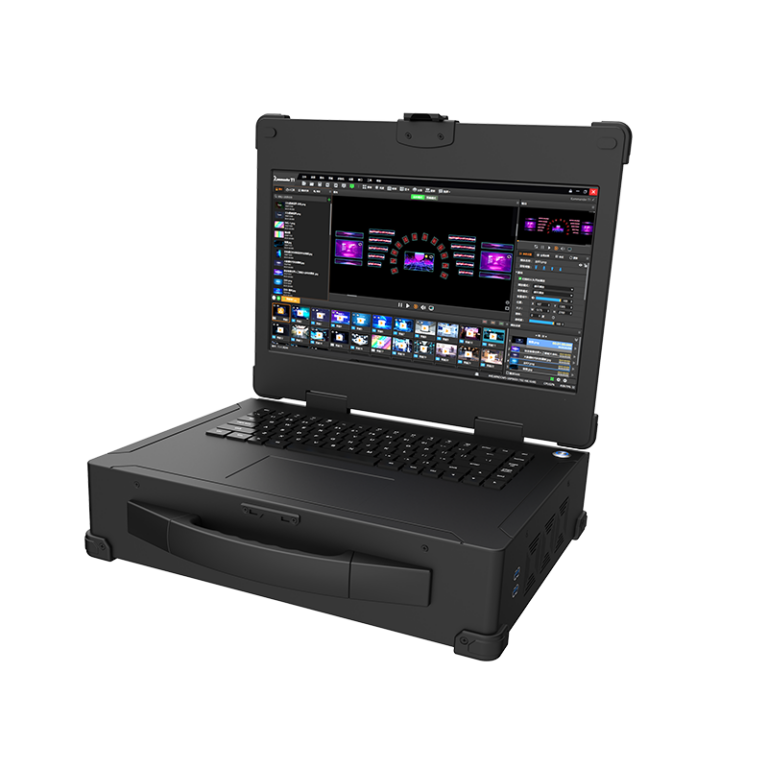
User needs first: why control matters
Designers and technicians want predictable, repeatable results when driving LED walls. A reliable playback media server removes guesswork: consistent frame rate, tight synchronization and simple pixel mapping mean fewer last-minute fixes on site. This guide focuses on the practical choices that affect uptime, image alignment and the viewer experience.
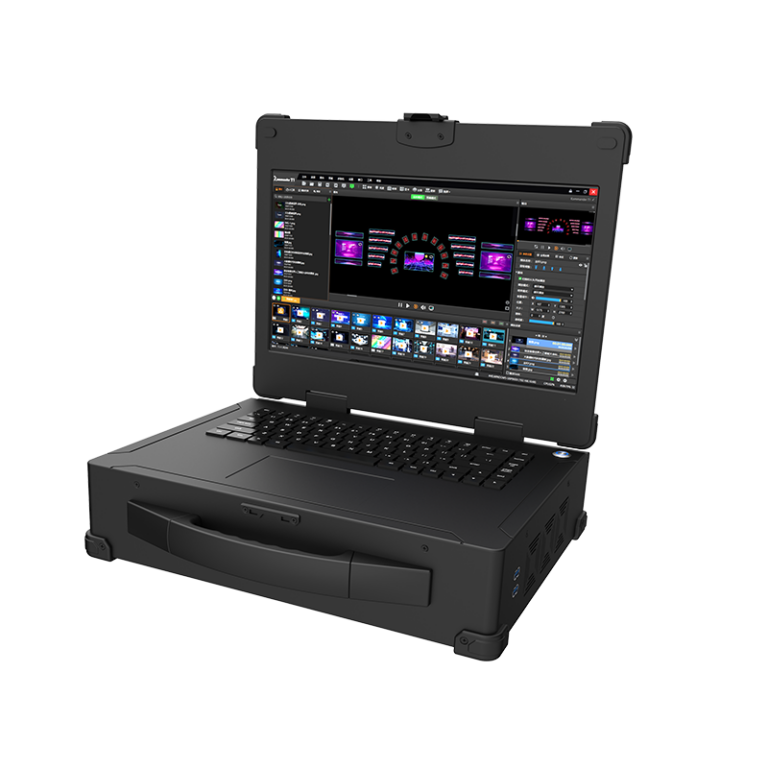
Core features that solve real problems
When evaluating controllers and servers, concentrate on features that translate directly to smoother installs and simpler operations:
– Deterministic synchronization across nodes (reduces visible tearing and drift).
– Low-latency video processing and support for high frame rates for smooth motion.
– Clear pixel mapping tools and reliable LED controller protocols for exact colour reproduction.
– Robust logging and network diagnostics so you can trace faults quickly.
Each item here addresses a concrete pain point: drops in frame rate, misaligned tiles, or intermittent network faults. Pick devices that expose useful diagnostics rather than hiding them behind opaque menus.
Practical setup checklist and common mistakes
Start with a checklist and follow it every time. Common oversights waste hours on site.
– Verify firmware parity across all nodes before connecting panels.
– Lock frame rate at the start of the session and measure latency end-to-end.
– Use a managed network segment for media traffic; separate control traffic to avoid congestion.
– Confirm pixel mapping from the server to the LED controller and test with a standard pattern.
Many teams skip a final validation pass — don’t. Real-world projects, like installations at the Amsterdam Light Festival, demonstrate how a disciplined pre-check prevents visible mis-synchronization during peak crowds. If you use master/slave arrangements, ensure the master clock is nailed down and that slave devices honour the sync signal — see master slave mode for an example of solid implementation.
Troubleshooting tips and human notes
When a show starts to drift, methodical checks win: confirm power stability, then verify network paths, then check the video processor and playback server settings. Keep logs rolling — they’ll show whether drift began after a firmware update or a network hiccup. Small reminder — pack spare network switches and a simple pattern generator; they save time when panels report inconsistent pixel mapping.
Comparing alternatives and deciding when to switch
Not every project needs the same level of hardware. For touring shows, favour compact players with robust synchronization and front-panel diagnostics. For permanent installs, choose scalable servers with redundant media drives and comprehensive remote management. Consider cost, but weigh it against the time saved on day-of operations and the risk of visible artefacts during public events.

Operational keywords and integration note
Embed {main_keyword} and {variation_keyword} directly into runbooks and test plans so operators find them where they work — in checklists, not buried in manuals. Make sure training exercises include forced failovers and re-synchronisation steps under timed conditions.
Three golden rules for evaluation
1) Synchronization reliability: measure drift over a 24-hour stress period and accept no more than a single-frame variance across nodes. 2) Diagnostic clarity: tools should show per-node frame rate, latency, and pixel mapping status without obscure menus. 3) Operational resilience: prefer systems that offer simple recovery paths (reboot sequences, master re-election) and clear logs to pinpoint issues quickly.
Follow these rules and you cut rigging time, lower on-site risk, and deliver consistently sharp visuals. Kystar offers solutions that address these exact demands — practical, tested and built for real shows. –